 I had spent some time researching suspension upgrades for our tandem axle leaf spring system, even though our travel trailer was new the archaic design leaves (no pun) plenty of room for improvement. The nylon/plastic bushings in the pivot points aren’t forever, and some damping at the equalizer wouldn’t hurt.
There are 3 popular suppliers for upgraded equalizers with built-in dampening, Lippert Equa-Flex, MORryde and Dexter. Though the design differs 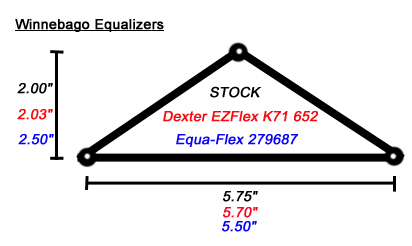 they’re functionally the same, they use rubber to help absorb some of the axle to axle vibrations. There are plenty of videos out there, these parts really take a beating on the road. The MORryde and Dexter were immediately tossed out of the running, the stated wheelbase doesn’t suit Winnebago’s close spacing. The Lippert looked like it would fit, but because of the difference in dimensions mixing and matching shackle length would be required to maintain the same ride height. There’s a Q&A floating around on etrailer somewhere about the subject. In the end I decided to defer the whole idea and eventually get another MORryde HD shackle/greaseable pin/metal bushing kit, I’ve used them before on other trailers and they’re nicely made.
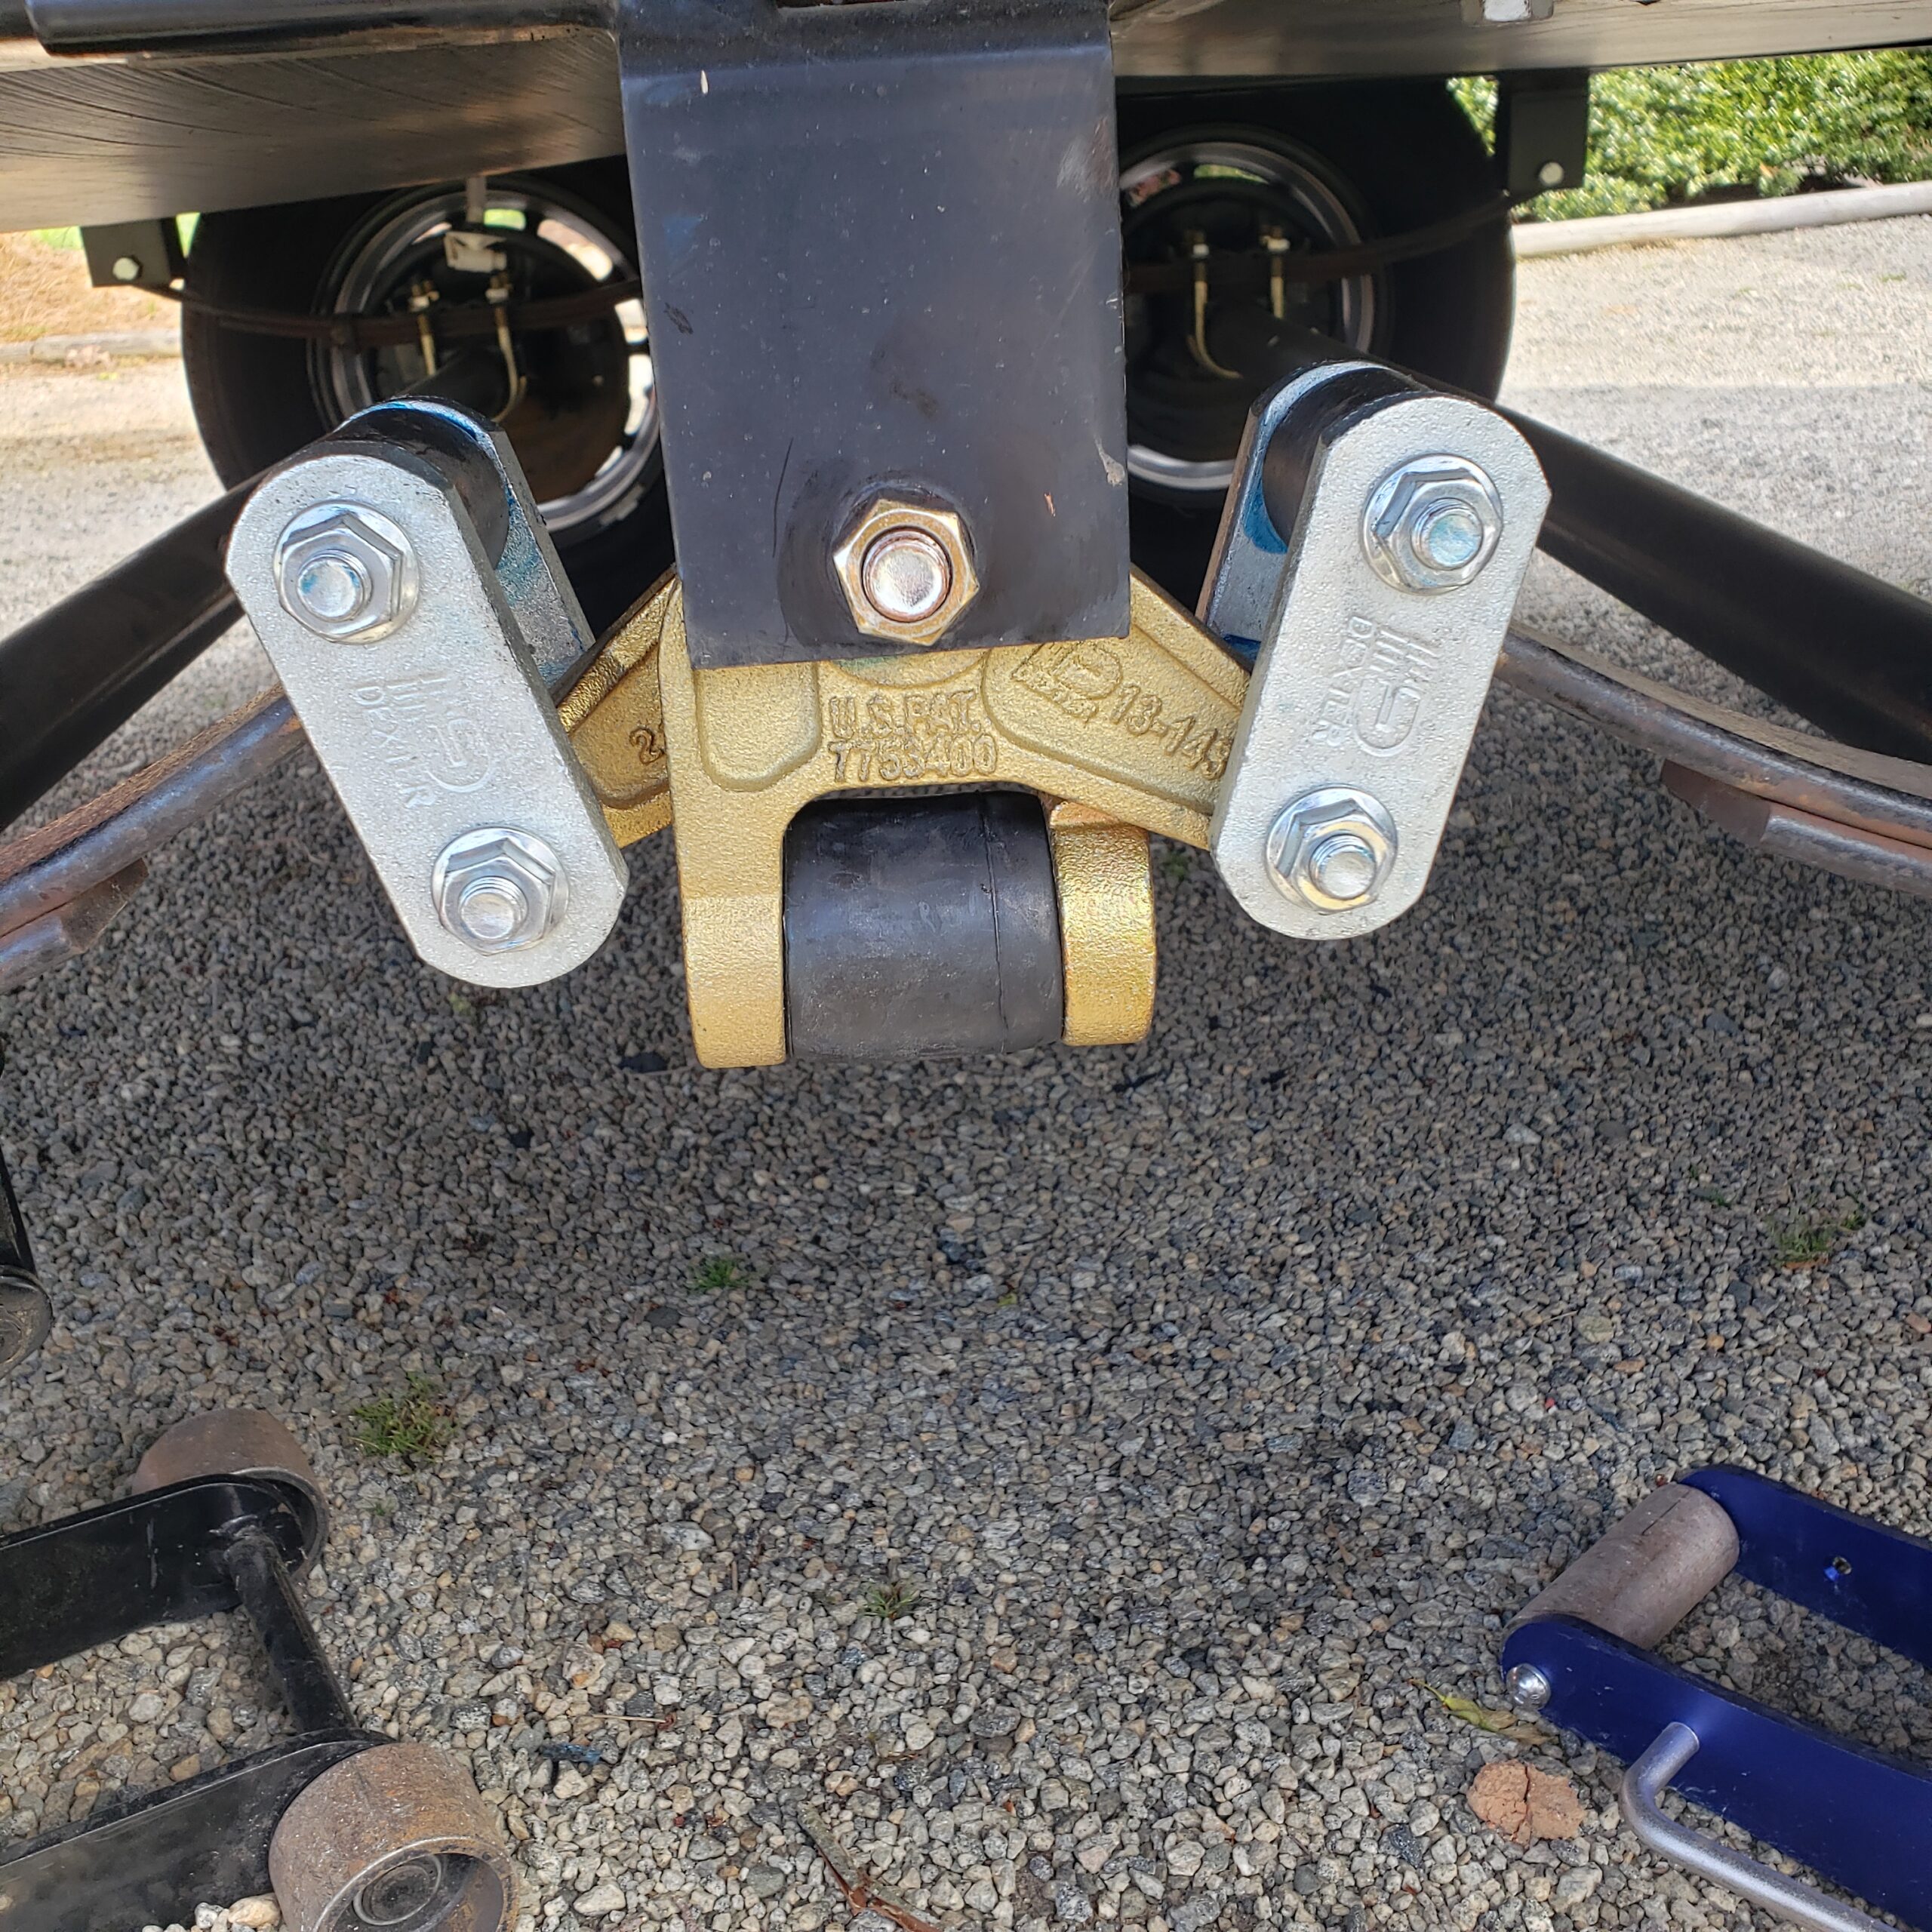
Our big 2021 trip brought us up to 10,000 miles on our camper and that’s about as far as I wanted to go on the stock plastic bushings. Prior to ordering the MORryde kit this spring someone posted a picture on the Winnebago Travel Trailer FB page showing the Dexter kit installed. As it turns out, while the stated axle spread excludes the kit, the actual dimensions of the equalizer make it an almost perfect fit. The rest of the bushings and shackles are equivalent to the MORrydes and are included in the kit making it an easy choice.
 Installation is pretty straightforward. I did it one side at a time and had no issues.
-With one side of the camper securely raised and tires removed, support the axles with a jack and raise them enough to remove some of the load. Having a pair of floor jacks on hand meant I didn’t have to get under the camper at any time.
-Starting with the outer leaf spring mounting points (one at a time), loosen the nut but don’t remove it. Using a BFH hit the nut until the splined bolt starts backing out of the inside of the spring hanger. At this point look at the portion of the bolt behind the nut where it exits the spring hanger. Using the jack center it in the hole. This will help the bolt come out more easily as everything is aligned. Note that the spring hanger is going to bend in towards the center of the camper when you hit the nut to remove it, but it will bend back when you tighten things up.
New bushing installed
-Finish removing the bolt, lower the axle with the jack until you can access the bushing. To remove the bushing I just used a flat head screwdriver, inserting it between the bushing and spring eye and deforming it until I could push it out.
-Clean spring eye if needed, grease opening. Grease new bushing, tap in with a dead blow hammer. Some suggest using a tool with the same ID, I’ve never had an issue deforming a bushing using the dead blow.
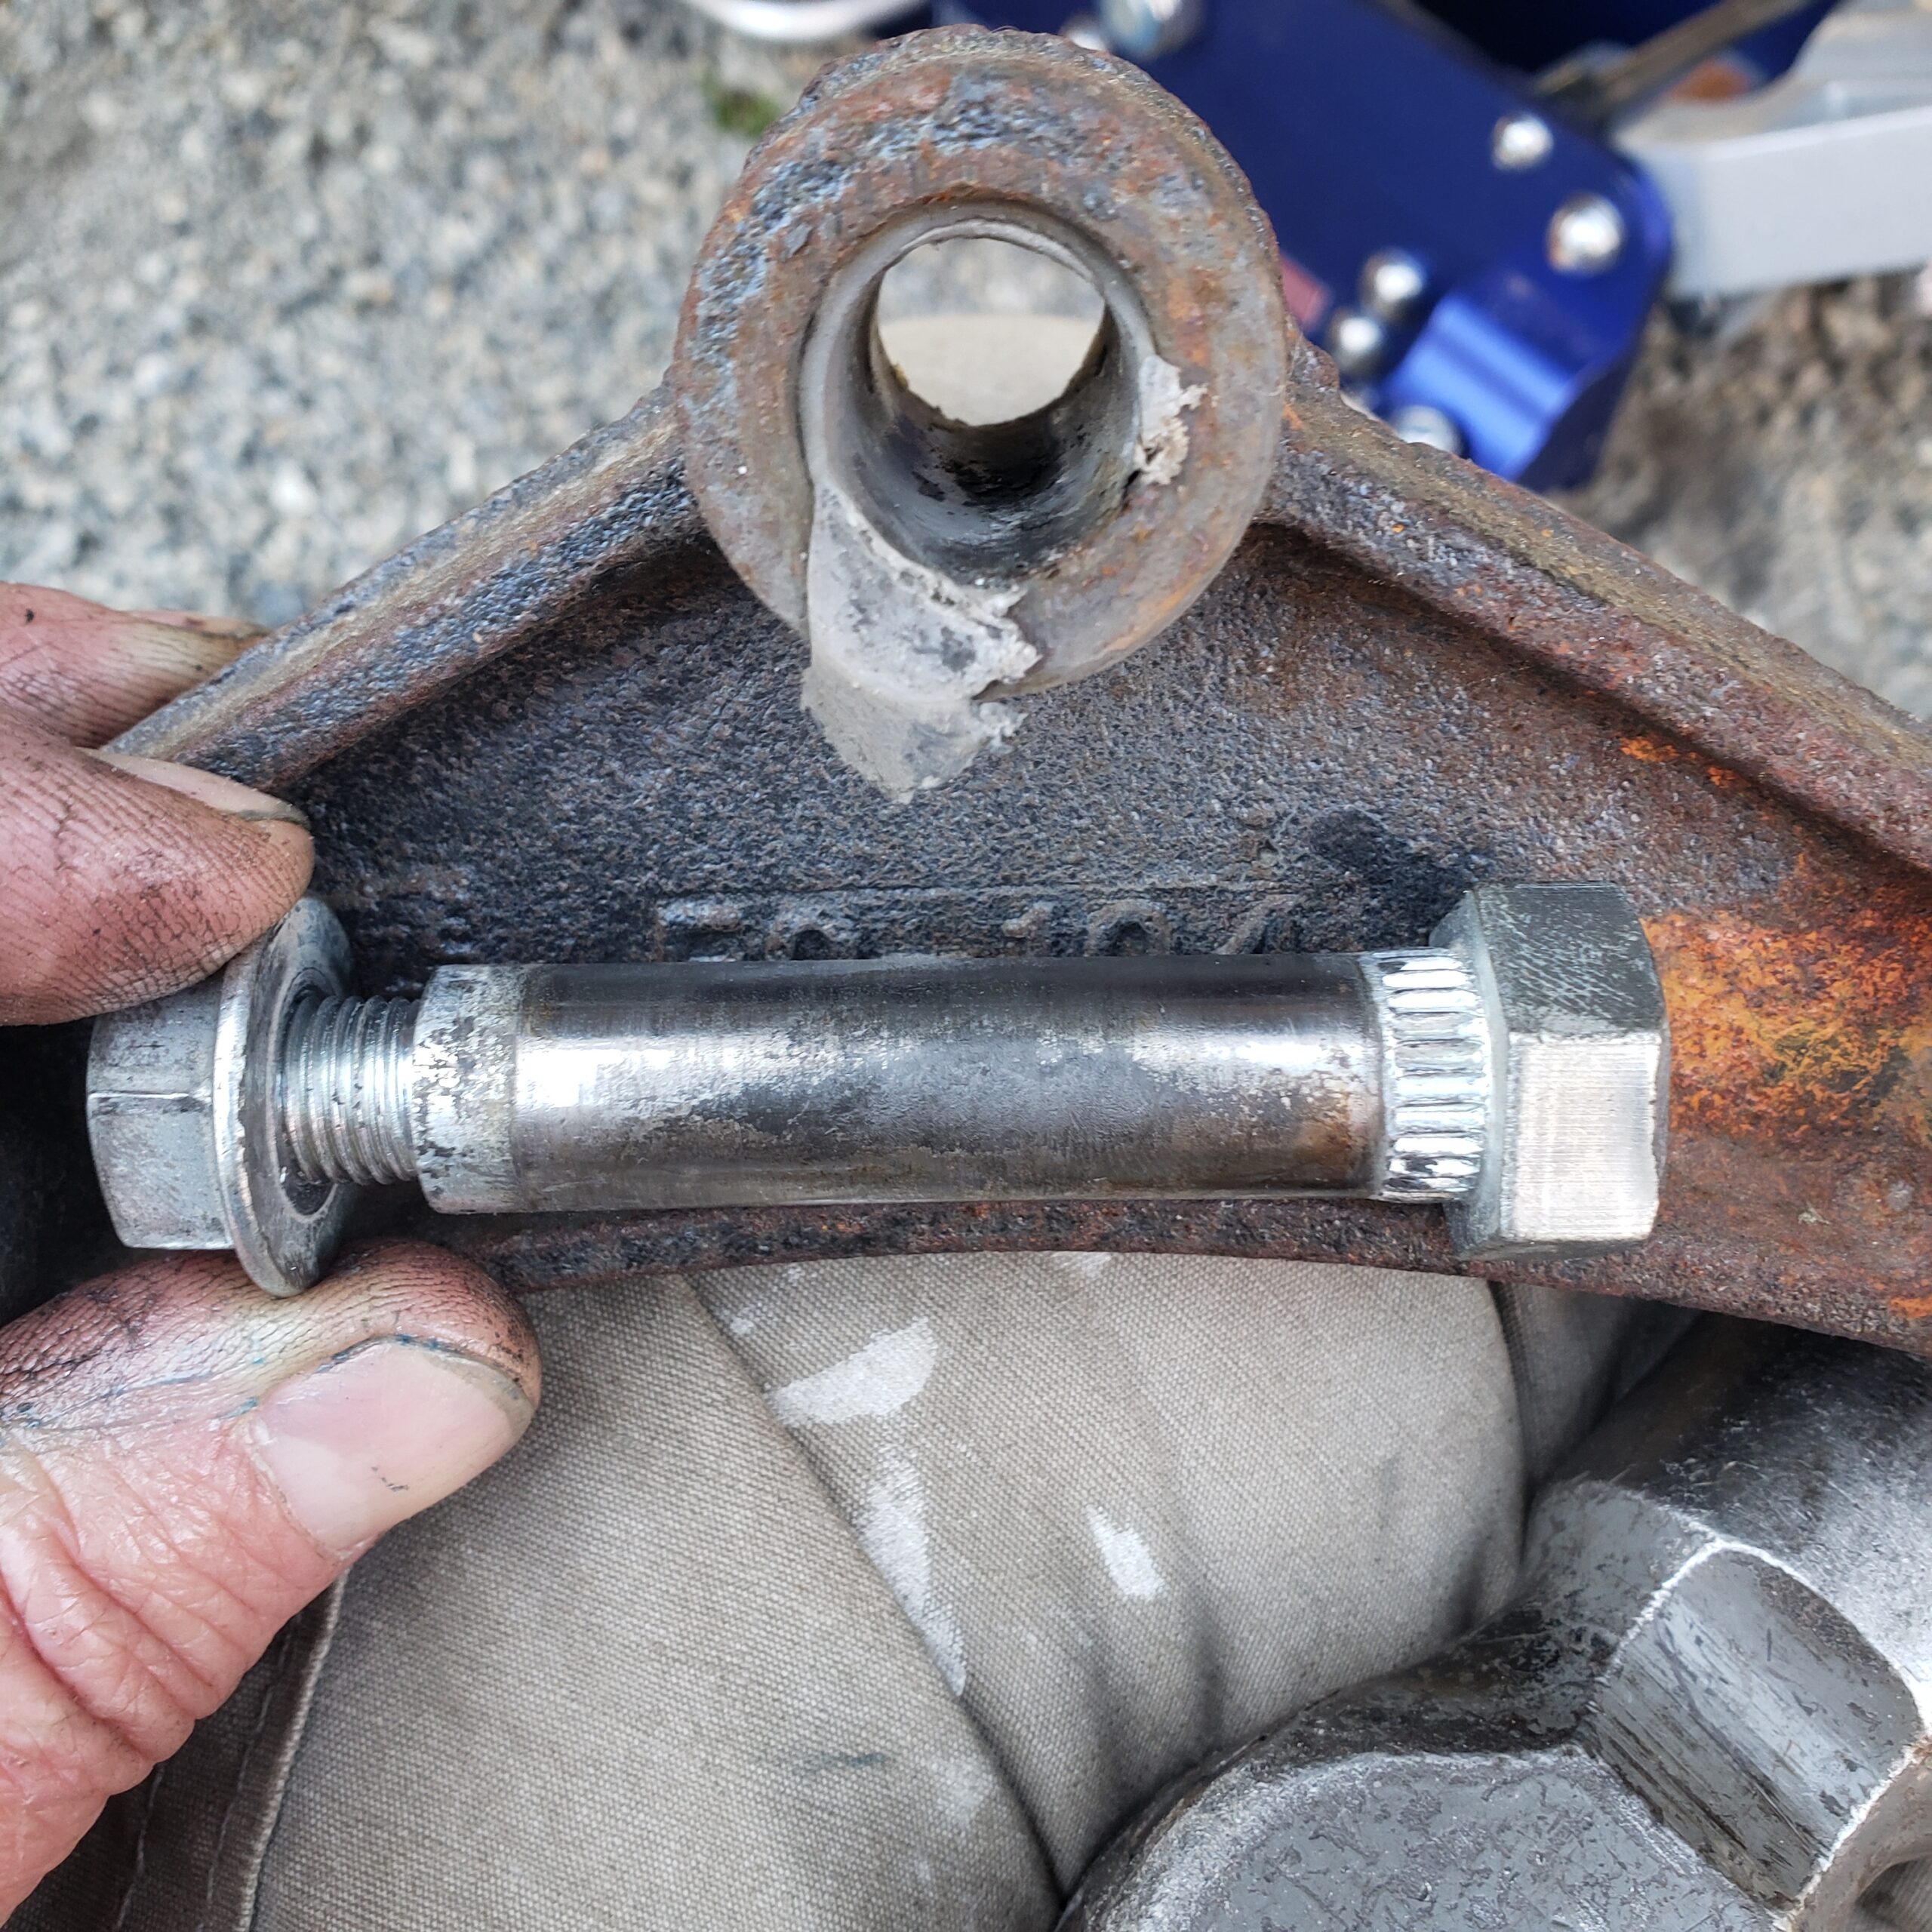
-Lube the outside of the spring eye and inside of the hanger, lube the pin, raise the axle with the jack to align and install bolt with the grease hole aligned as shown in the directions. My directions were a 10th generation photocopy of a photocopy, I put the holes away from the load. In this picture that would be about 2 o’clock, the load is highest around 7 o’clock. This helps grease them without having to jack up the camper, but it’s probably still the best way to do it in the future. Hold the inside of the bolt with a wrench until the splines pull through the hanger so you don’t move the grease hole. Torque to spec.
-Repeat for outer spring mount on the other side.
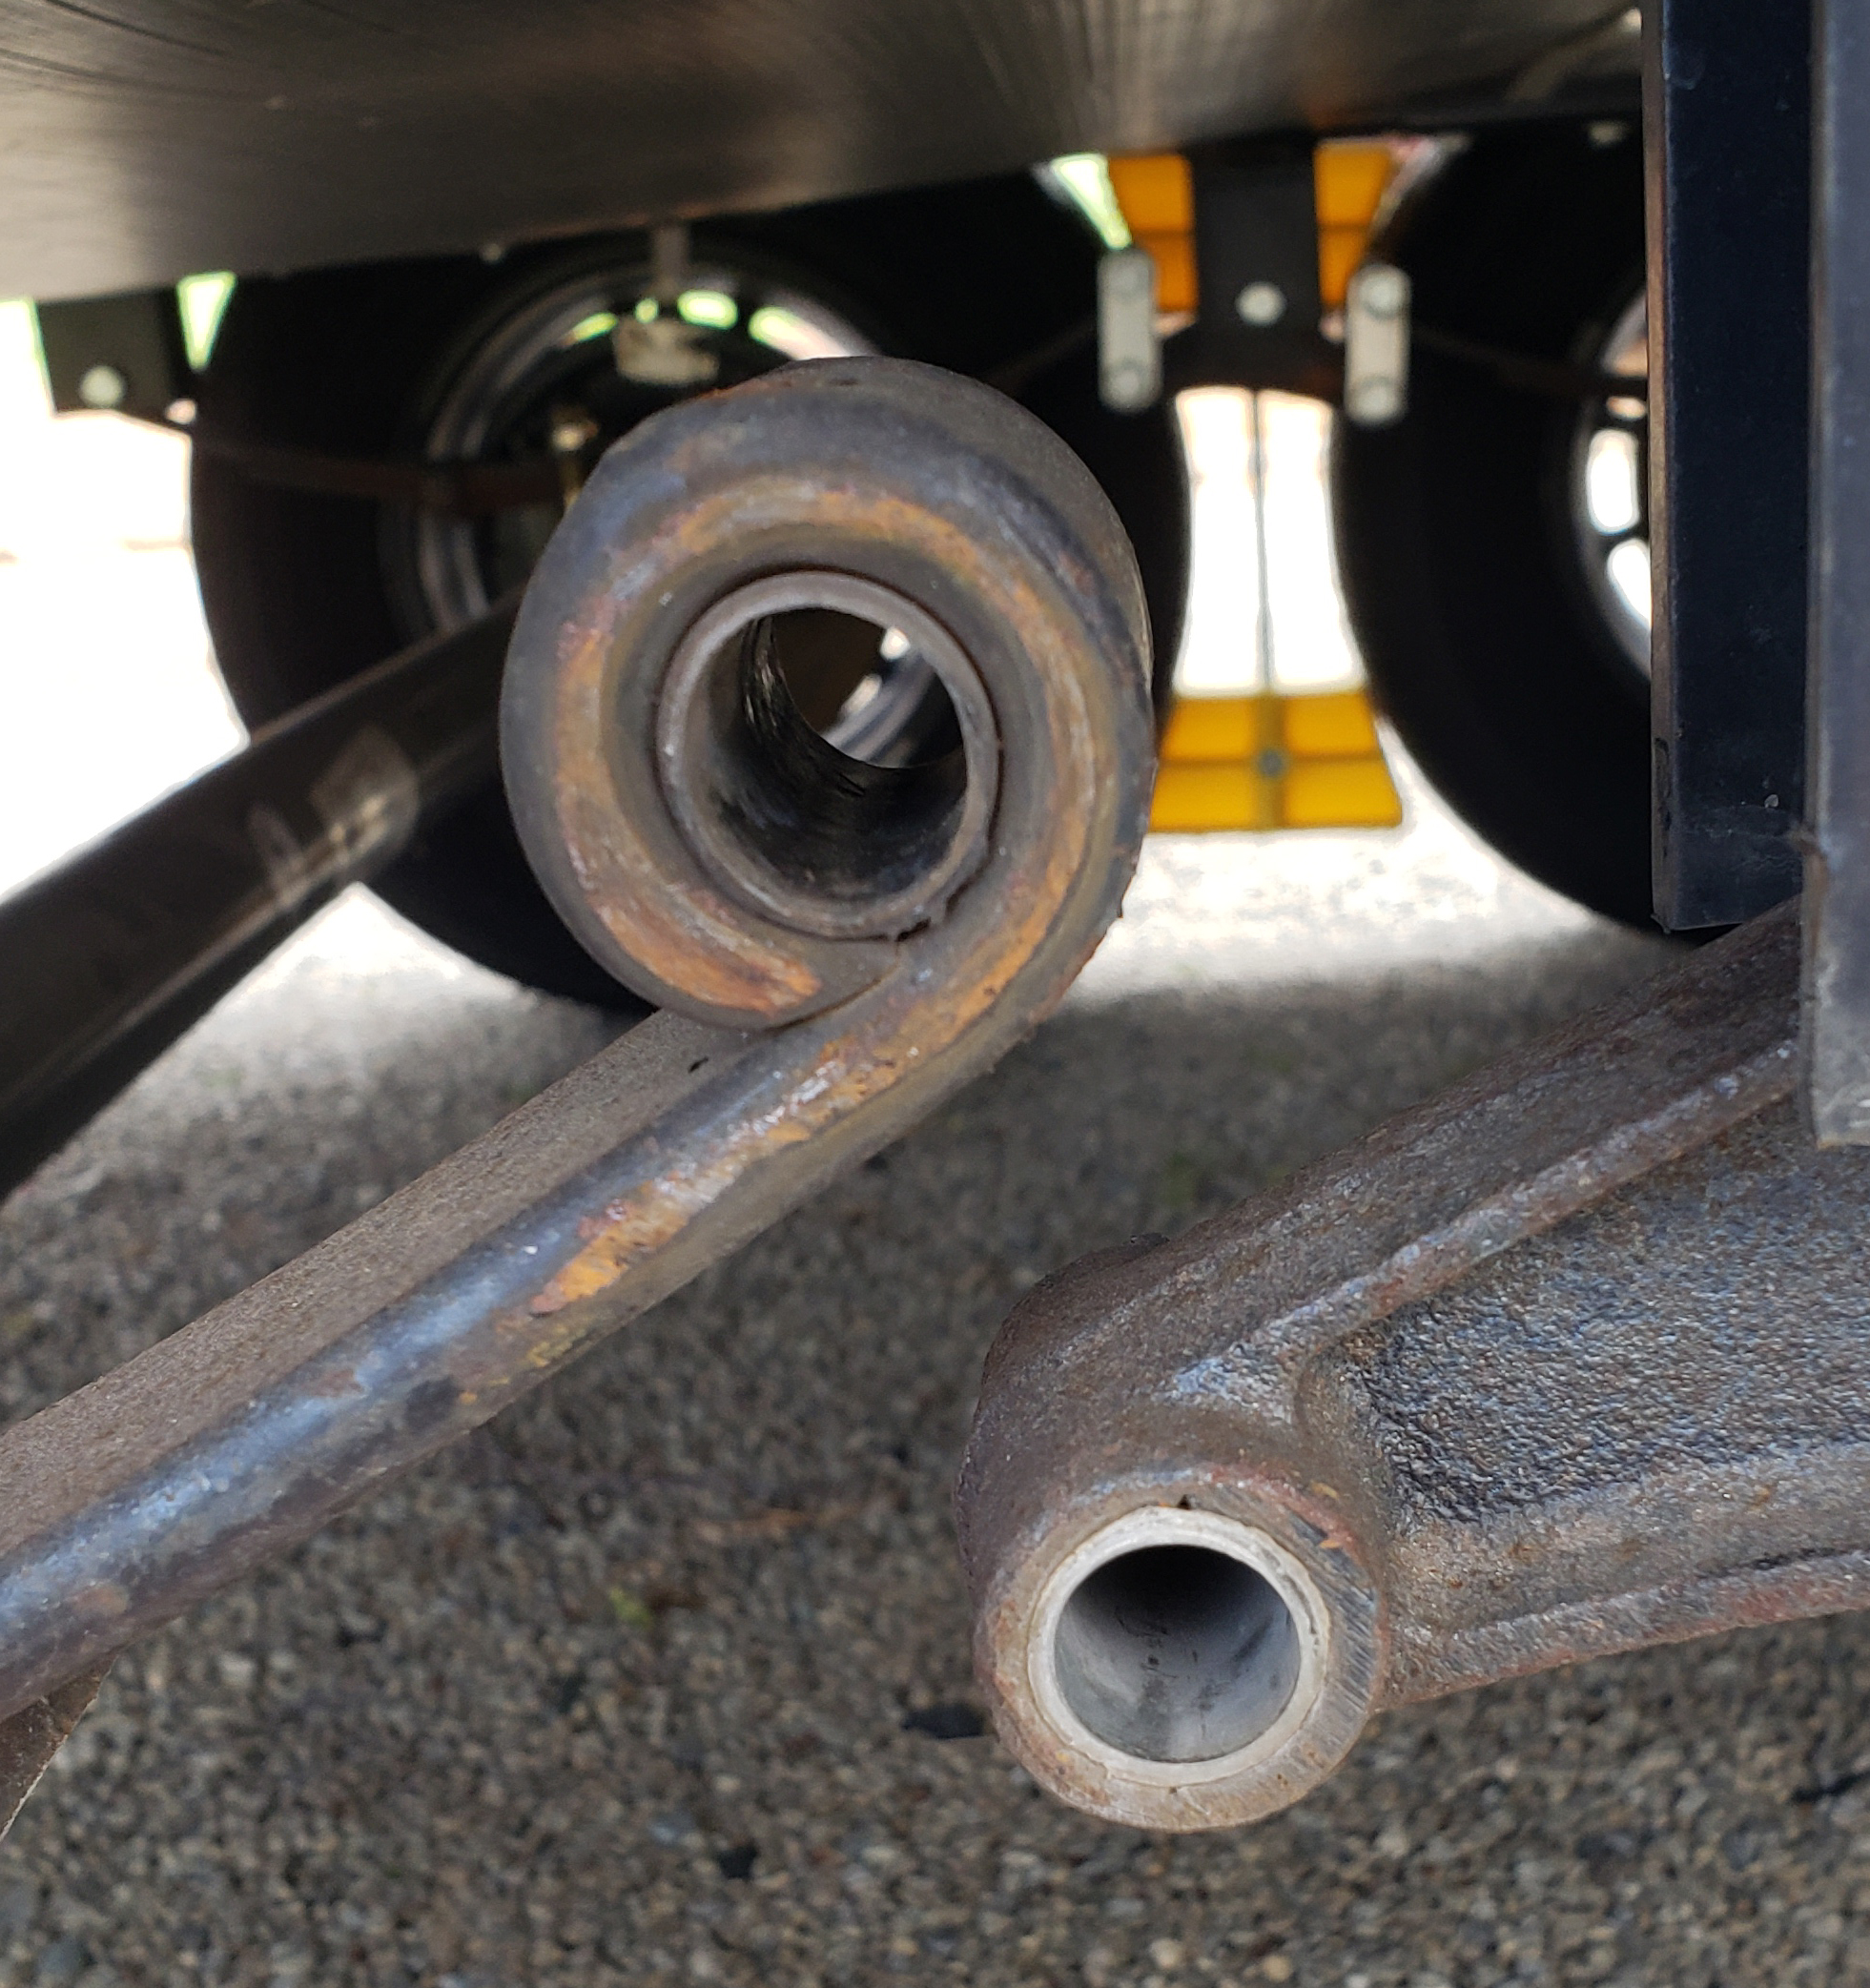
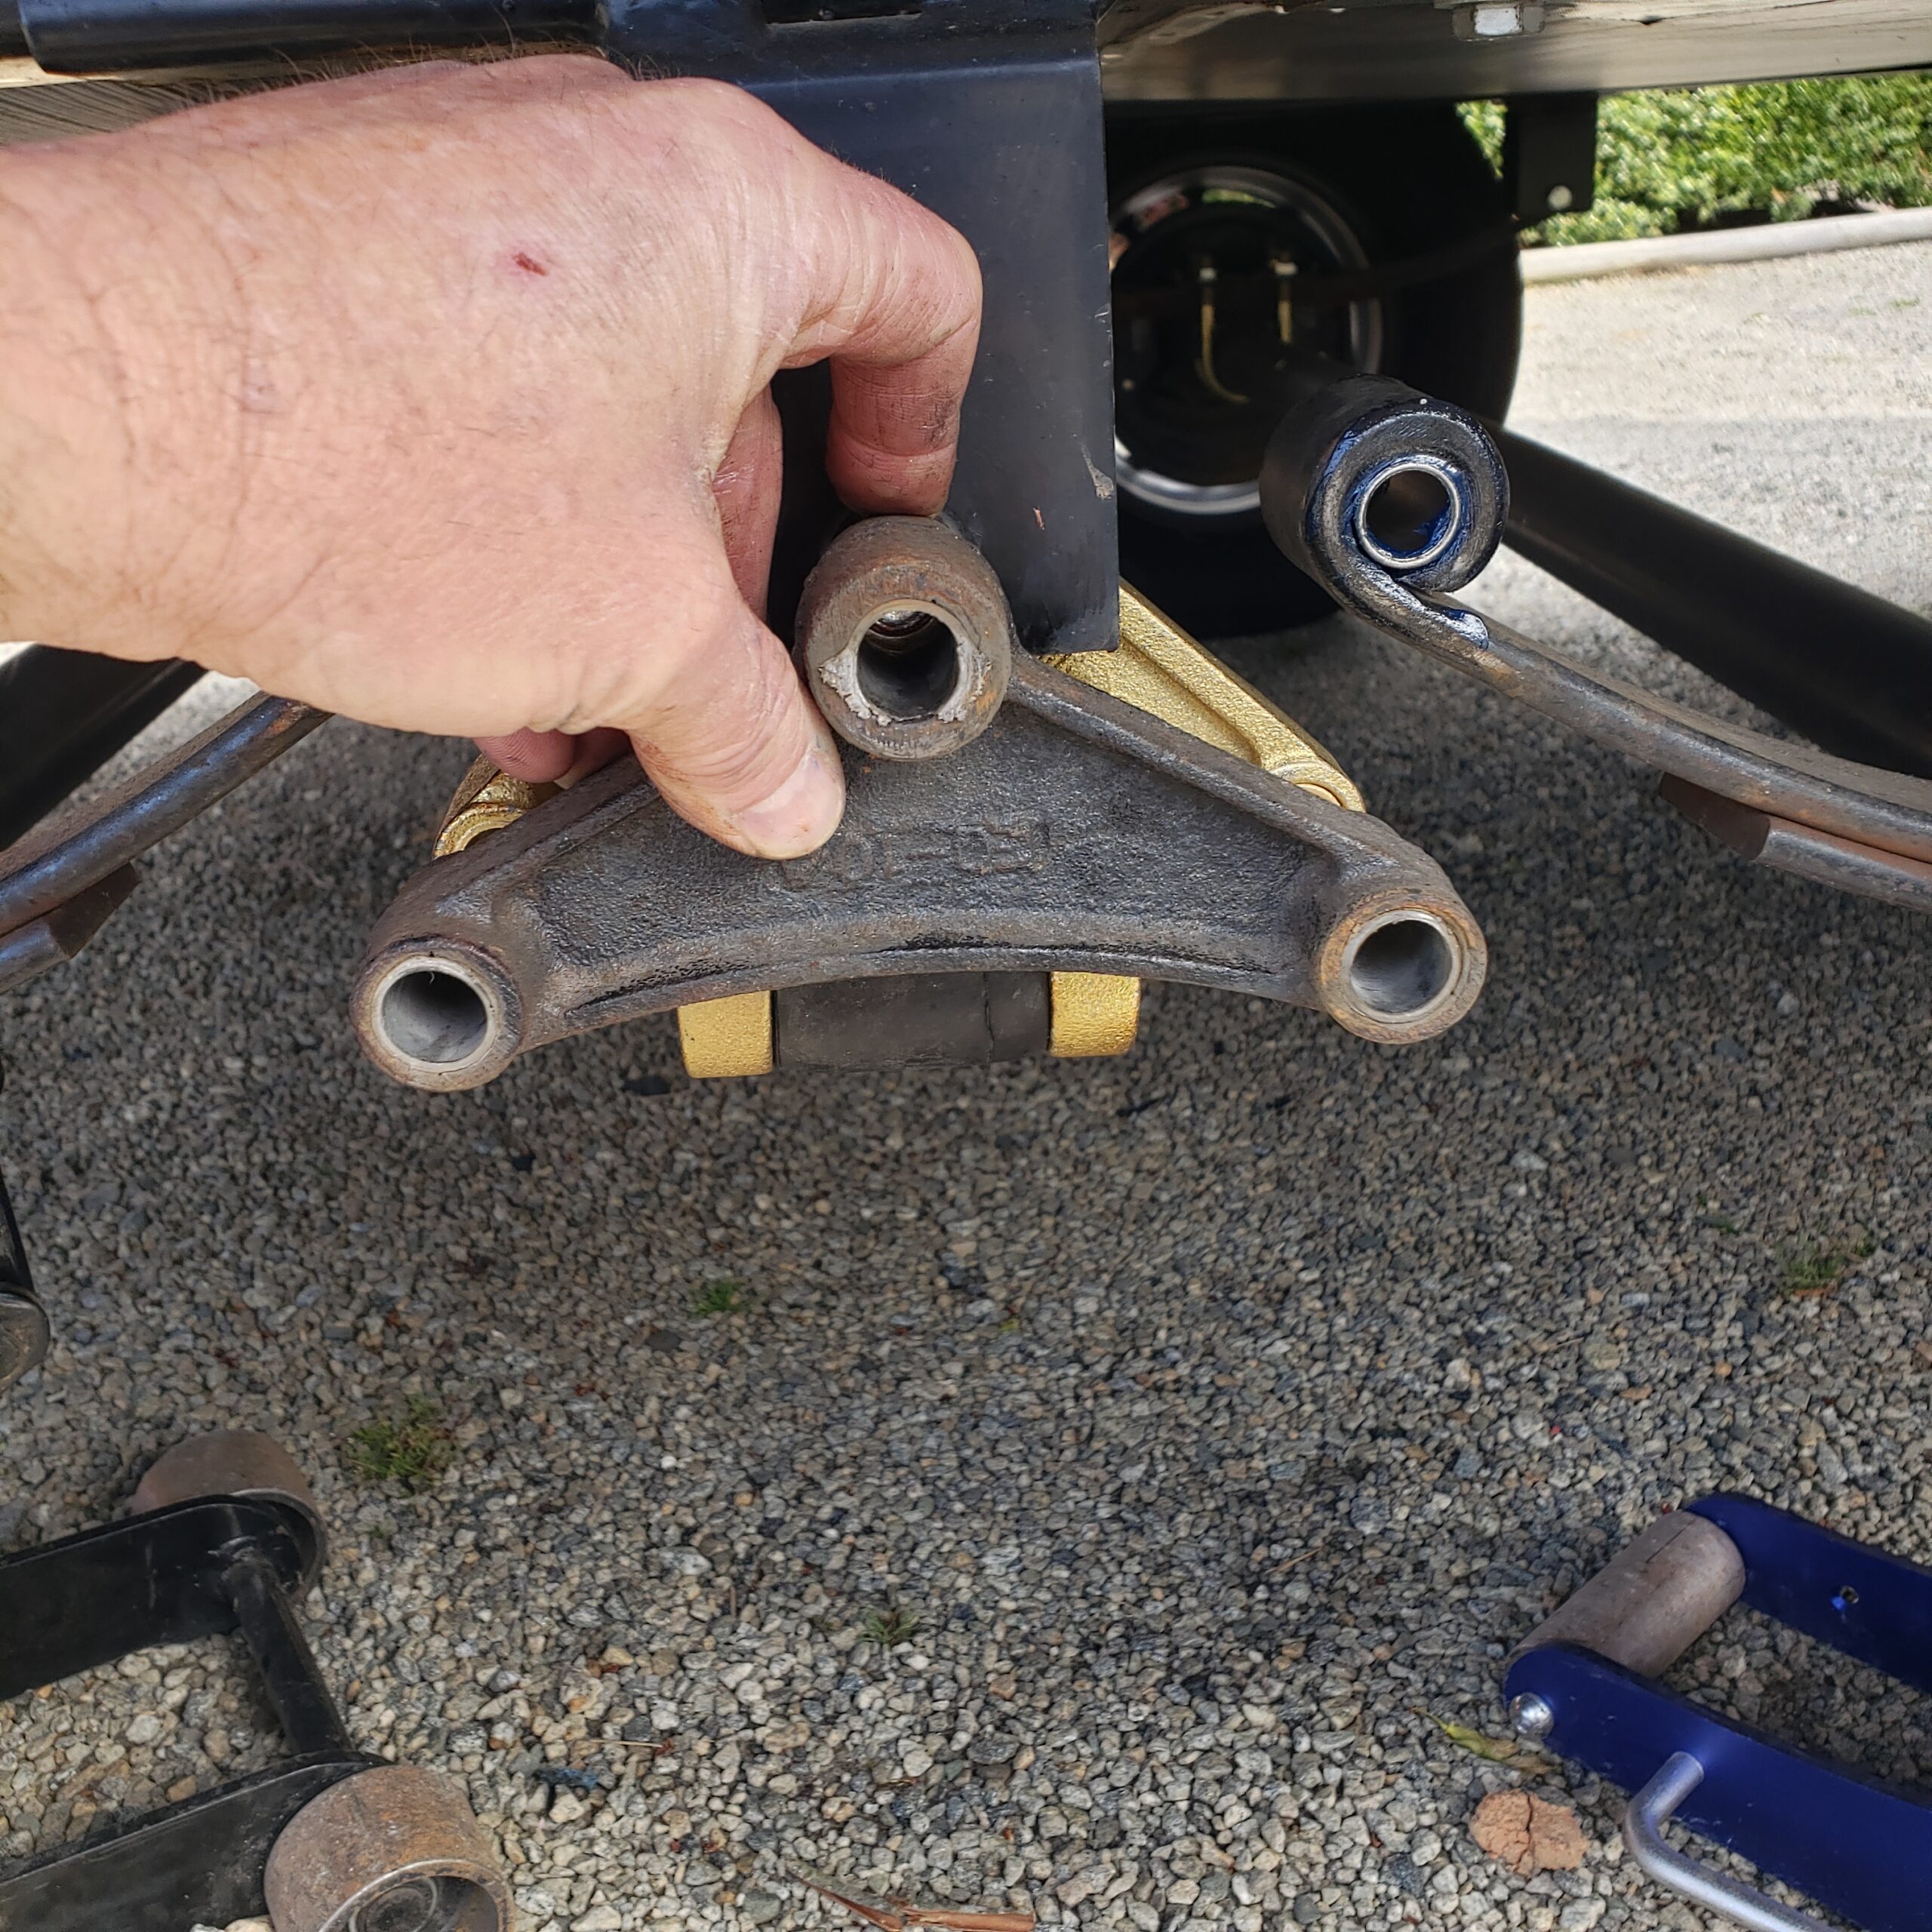
Inner spring eye at equalizer with old bushings
-If you used two jacks and left them alone after installing the outer bushings and pins, the center shackles and equalizer shouldn’t be under much if any load. Remove shackles, install bushings as above. I never touched the jacks during this part, the spring eyes will be accessible with the shackle removed. The center pivot bolt gets a coating of anti-seize, and it is a splined bolt like the ones on the outer spring eyes so you’ll need to hole it from the back when you start tightening it.
-With everything torqued get out the grease gun. You have 9 fittings per side, about 2-3 pumps and you’ll start seeing grease come out around all your new hardware.
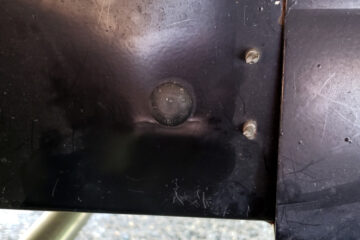
What do the plastic bushings look like at 10,000 miles? Pretty much done. The equalizer was the worst, none of the others had worn completely through but were pretty deformed and letting the axles move around out of their normal plane.
Equalizer center pivot and bolt. Since this moves constantly heat is probably as much a factor as load.
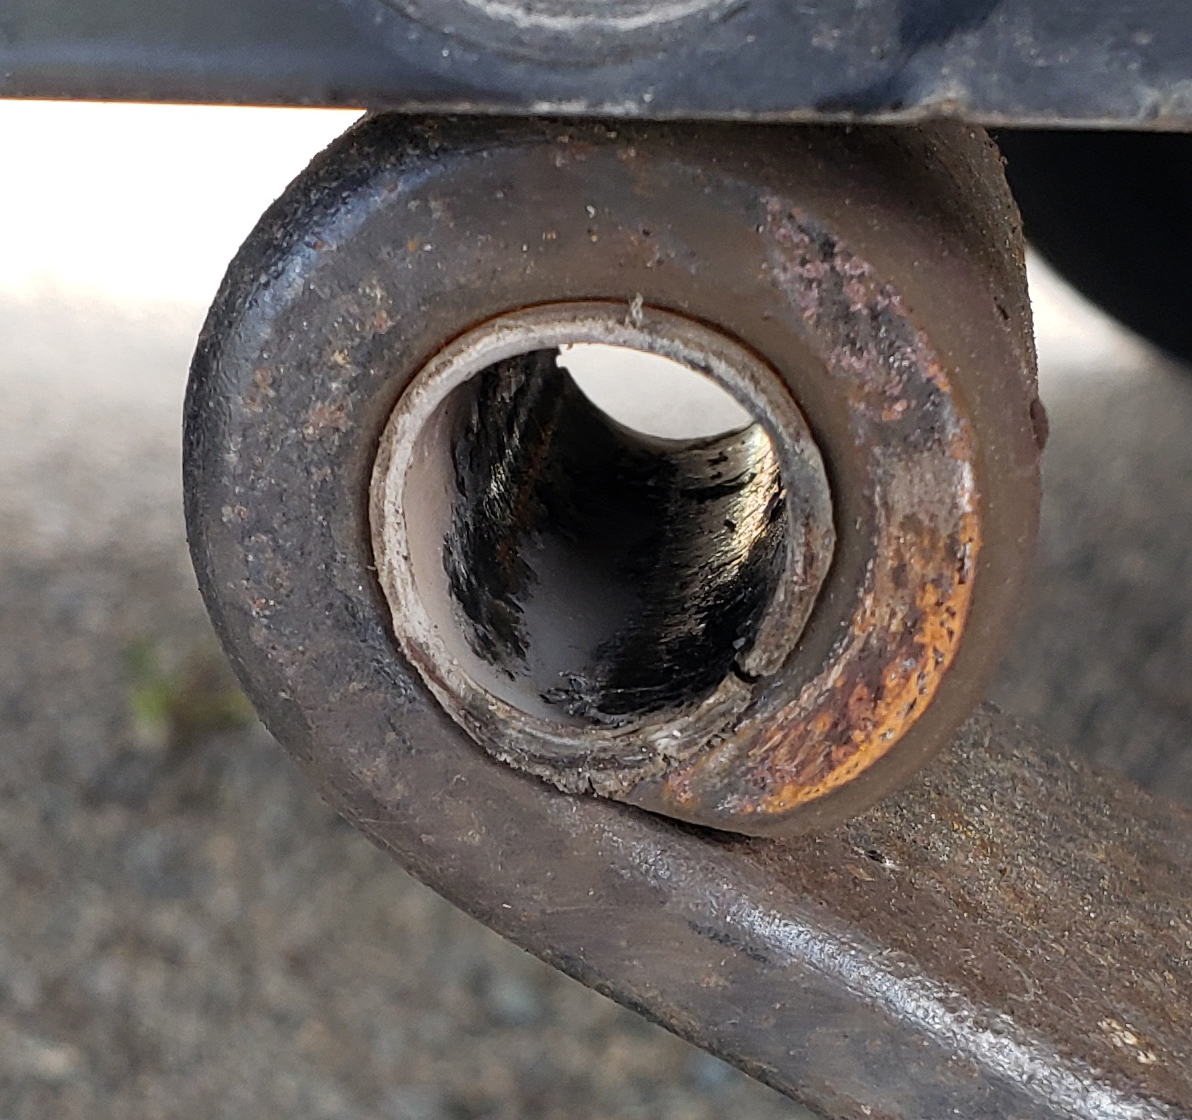
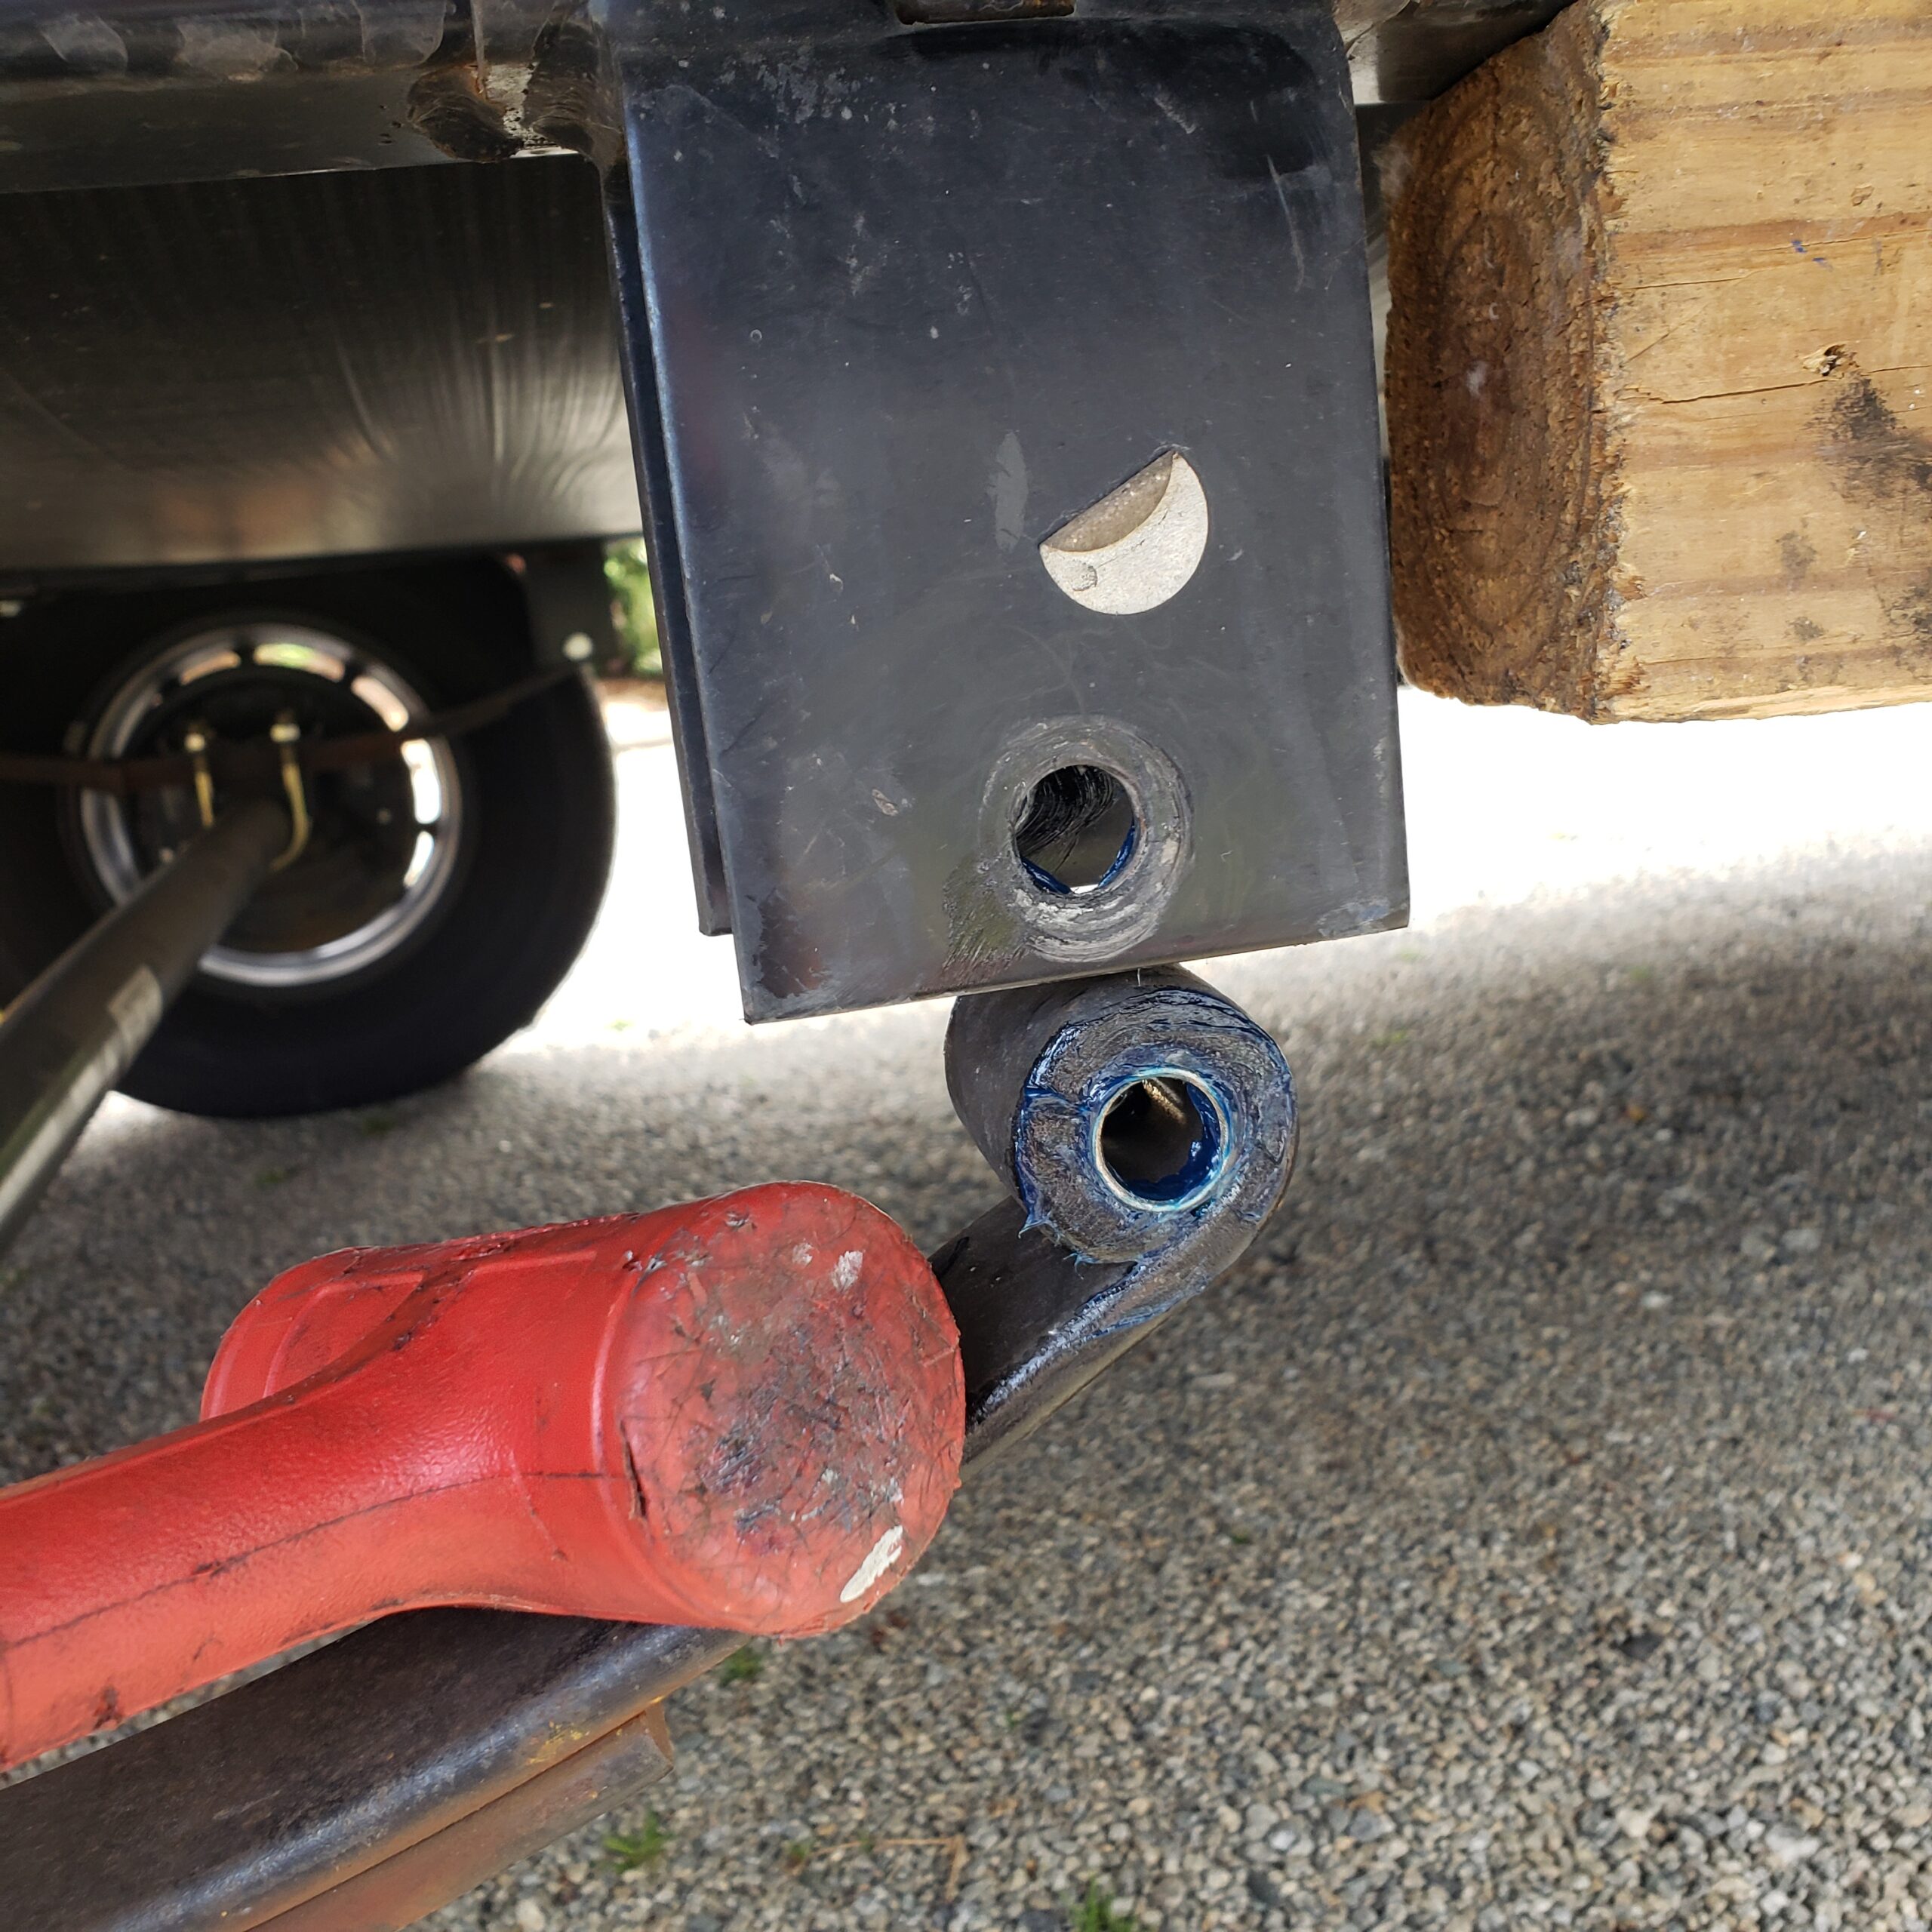
Outer spring eye with stock bushing at 10,000 miles
1 Comment
whoiscall · August 1, 2023 at 11:46 am
Thank you.